[HOWTO] Quickly get OCIS (Nextcloud alternative) up and running
![[HOWTO] Quickly get OCIS (Nextcloud alternative) up and running](https://i.ibb.co/fGN8L8F/Screenshot-from-2023-07-04-11-45-00.png)
To those self-hosters who are out there curious if there exists a faster Nextcloud-like alternative without all the bells and whistles. I present to you, OCIS! This howto assumes that you’re running a Linux OS and that you have a reverse proxy like caddy running. To the guy who I suggested checking out OCIS, I wrote this guide for you ;)
1. Download the OCIS binary:
sudo wget -O /usr/bin/ocis https://download.owncloud.com/ocis/ocis/stable/3.0.0/ocis-3.0.0-linux-amd64
The above downloads the latest stable version.
2. Make the downloaded binary executable:
sudo chmod +x /usr/bin/ocis
3. Create a systemd unit file to start OCIS automatically:
<pre style="background-color:#ffffff;">
<span style="color:#323232;">Description=OCIS server
</span><span style="color:#323232;">
</span><span style="color:#323232;">[Service]
</span><span style="color:#323232;">Type=simple
</span><span style="color:#323232;">User=ocis
</span><span style="color:#323232;">Group=ocis
</span><span style="color:#323232;">EnvironmentFile=/etc/ocis/ocis.env
</span><span style="color:#323232;">ExecStart=ocis server
</span><span style="color:#323232;">Restart=always
</span><span style="color:#323232;">
</span><span style="color:#323232;">[Install]
</span><span style="color:#323232;">WantedBy=multi-user.target
</span>
4. Create the ocis user:
sudo useradd --system --no-create-home --shell=/sbin/nologin ocis
5. Create the necessary directories:
sudo mkdir -p /etc/ocis /var/lib/ocis
6. Grant ownership of created directories above to the ocis user:
sudo chown -R ocis:ocis /etc/ocis/ /var/lib/ocis
7. Create the environment file for running OCIS:
sudo nano /etc/ocis/ocis.envand paste the lines below - edit the domain accordingly:
<pre style="background-color:#ffffff;">
<span style="color:#323232;">OCIS_URL=https://ocis.your.domain.org
</span><span style="color:#323232;">PROXY_TLS=false
</span><span style="color:#323232;">OCIS_INSECURE=true
</span><span style="color:#323232;">OCIS_LOG_LEVEL=error
</span><span style="color:#323232;">OCIS_CONFIG_DIR=/etc/ocis
</span><span style="color:#323232;">OCIS_BASE_DATA_PATH=/var/lib/ocis
</span><span style="color:#323232;">PROXY_HTTP_ADDR=0.0.0.0:9200
</span><span style="color:#323232;">PROXY_USER_OIDC_CLAIM=preferred_username
</span><span style="color:#323232;">PROXY_USER_CS3_CLAIM=username
</span><span style="color:#323232;">PROXY_ENABLE_BASIC_AUTH=true
</span>
8. Initialize your OCIS install:
sudo -u ocis ocis init --config-path /etc/ocis
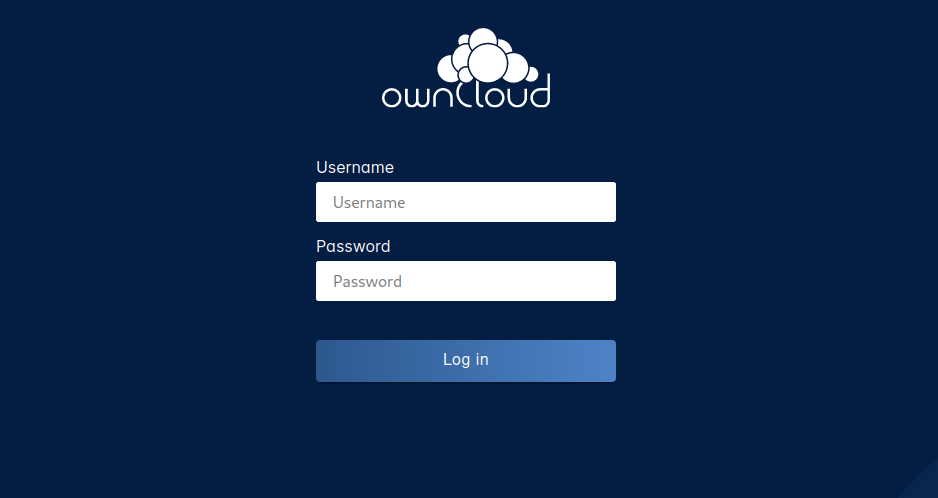
That’s it! Visiting the url ocis.your.domain.org should present you with OCIS login page. To access the webdav endpoint via something like Cx Explorer or Gnome files, use: https://ocis.your.domain.org/remote.php/webdav
Depending on your setup, you might have to add the ocis domain above to your hosts file. A line like 127.0.0.1 ocis.your.domain.org to the /etc/hosts file.
If you don’t have a reverse proxy but would still like to check out OCIS, use the environment file below:
<pre style="background-color:#ffffff;">
<span style="color:#323232;">OCIS_URL=https://192.168.x.x:9200
</span><span style="color:#323232;">PROXY_TLS=true
</span><span style="color:#323232;">OCIS_INSECURE=true
</span><span style="color:#323232;">OCIS_LOG_LEVEL=error
</span><span style="color:#323232;">OCIS_CONFIG_DIR=/etc/ocis
</span><span style="color:#323232;">OCIS_BASE_DATA_PATH=/var/lib/ocis
</span><span style="color:#323232;">PROXY_HTTP_ADDR=0.0.0.0:9200
</span><span style="color:#323232;">PROXY_USER_OIDC_CLAIM=preferred_username
</span><span style="color:#323232;">PROXY_USER_CS3_CLAIM=username
</span><span style="color:#323232;">PROXY_ENABLE_BASIC_AUTH=true
</span>
I tried mine with keli.local:9200 and it worked just fine- make sure you have avahi-daemon installed!
**Edit:**If you’re using a reverse proxy, your proxy address should be localhost:9200. For caddy, this would mean an entry like:
<pre style="background-color:#ffffff;">
<span style="color:#323232;">ocis.your.domain.org {
</span><span style="color:#323232;">    reverse_proxy localhost:9200
</span><span style="color:#323232;">}
</span>